uiuc-cs448
| Discussions | Canvas | Repositories | Python Setup |
|---|
ℹ️ Course website (this) and GitHub are new and still under construction. Please bear with us and notify us of any issues/suggestions.
This website focuses on the online platforms of this course to help you onboard. Refer to the syllabus, day-1 lecture slides, announcements, etc. on Canvas for complete coverage on everything else.
This website focuses on the online platforms of this course to help you onboard. Refer to the syllabus, day-1 lecture slides, announcements, etc. on Canvas for complete coverage on everything else.
Python Setup
This reference (not a tutorial/guide) is written by a CA who doesn't know everything. Some information can be incomplete, confusing, or just plain wrong, but that's what documentation, Discussions, StackOverflow, etc. is for:)
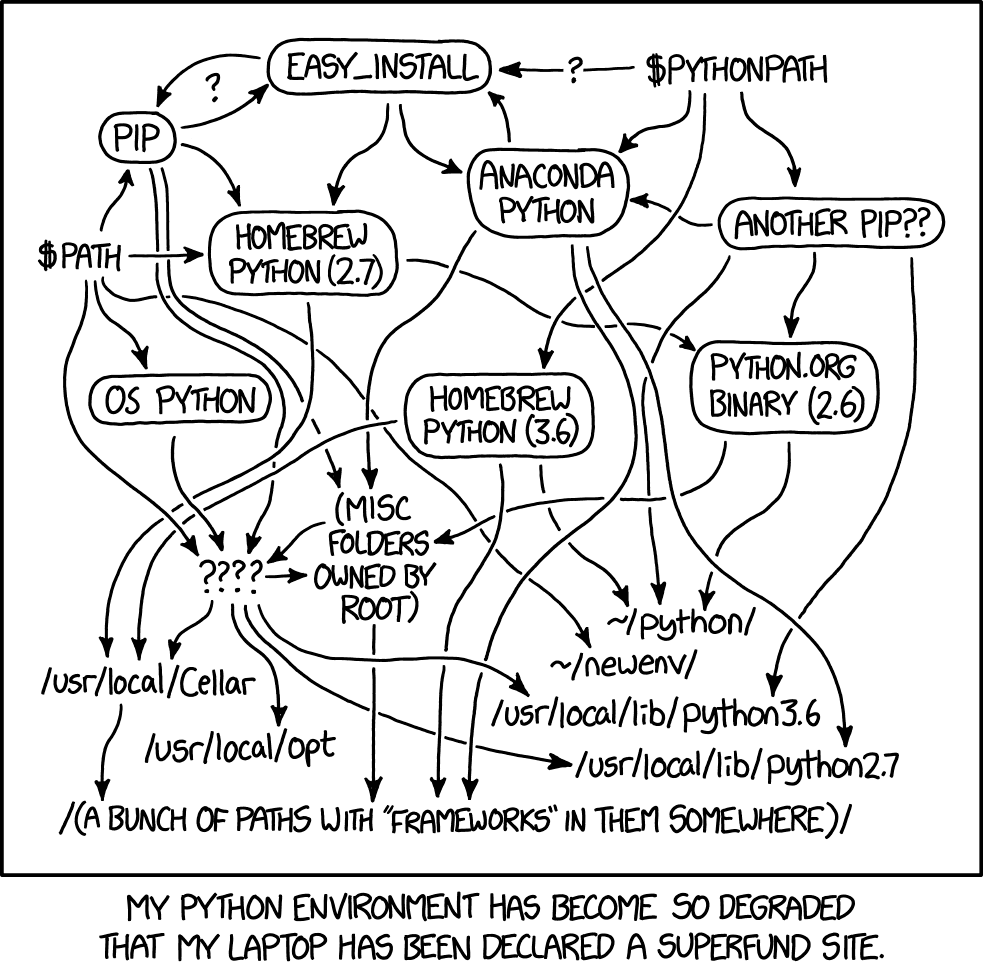 Necessary XKCD comic
There are many ways to setup a Python environment and dealing with it can be a pain in the ass. Fortunately, this class isn’t too picky beyond having Python 3.9+ with a few dependencies/libraries. If you already have an existing Python setup that you like, you can probably skip to installing dependencies.
Global vs. Multiple Environments
We loosely recommend this 3rd-party reference).
An environment encapsulates a set of development tools (e.g. a set of dependencies and even a Python version) that you can use for a project, multiple projects, or all projects across your entire OS. Choose between:
- A global environment: Every project on your computer shares one Python version and uses the same set of dependencies. This is easy to start with but hard to maintain when projects require conflicting versions of dependencies, etc.
- Multiple environments: Each project (or a subset of projects) can access a dedicated, isolated set of dependencies or even a separate Python version. This is the standard if you often use Python.
Install a Python version manager
Recommended, also enables using multiple environments.
pyenv(pyenv-winfor Windows) manages multiple Python versions so you can switch between them for different projects (seepyenv-virtualenvfor also managing environments)condamanages multiple environments that also each have their own Python version, unlikepyenvwhich lets you share a Python version across different environments.
Install a global Python version
Mac preinstalls a system-dependent version of Python in /usr/local/bin/, but we recommend not touching/breaking that. Windows and Linux do not preinstall their own Python.
- Install via a general software package manager (lets you reinstall different Python versions, but usually not switch between them–you'd still only have one version at a time).
- Mac: Homebrew, see their docs for Python.
- Windows: Chocolately, although not many devs use Windows so this isn't popular, most people default to installing from python.org.
- Linux: use your specific distribution's package manager.
Go figure it out, this is your fault!
- Install via python.org. Easy to start with, hard to maintain.
Dependency Environments with a global Python version
pyenv, conda, etc. already have their own support for managing Python environments (so skip this if that applies). But if you installed a single Python version via homebrew, python.org, etc., use virtual environments (venvs).
venv is built-in with Python and lets you manage multiple environments for dependencies that still share the same global Python that you installed earlier. It requires remembering a few commands to activate/open etc. for a project, but you can automate that or opt for pyenv-virtualenv, conda, etc. which do it for you.
Installing Dependencies
Each lab requires the same dependencies, which we listed in the requirements.txt file of each repo. So if you're using a dedicated environment, you can use the same one for each lab.
For most cases (and once you enter your dedicated environment, if not defaulting to a global one), run pip install -r requirements.txt at the repo level to install dependencies using the pip Python package manager. Beware that some previous options recommend a different package manager, e.g. conda install --yes --file requirements.txt.
IDEs!
Once you clone and open your lab in your favorite IDE, set it up to run Jupyter notebooks. Some popular ones:
- VSCode: Install the
ms-toolsai.jupyterextension, then clickSelect Kernel→Python Environments...→Python 3.X /path/to/python. - JupyterLab (dedicated offline in-browser IDE): Run
jupyter labin the terminal at the repo level, which opens the IDE (http://localhost:...) - Others (e.g. PyCharm, Spyder): you may need to run
jupyter server --no-browser --NotebookApp.alloworigin="\*"in the terminal and copy-paste that local server URL into the IDE settings. Follow platform-specific instructions.